As I’m traveling the EU, I thought this week I can share a lightweight article.

First of all, I suggest using an CI/CD tool (I’m using Codemagic) to automate the process of uploading your Flutter apps to TestFlight. But if you happen to be using XCode and manually uploading to TestFlight, I want to show you a better option.
First, download the Transporter app for Mac from the App Store. Then, open the app and log in with your Apple ID. When you log in, you will see a screen like this:
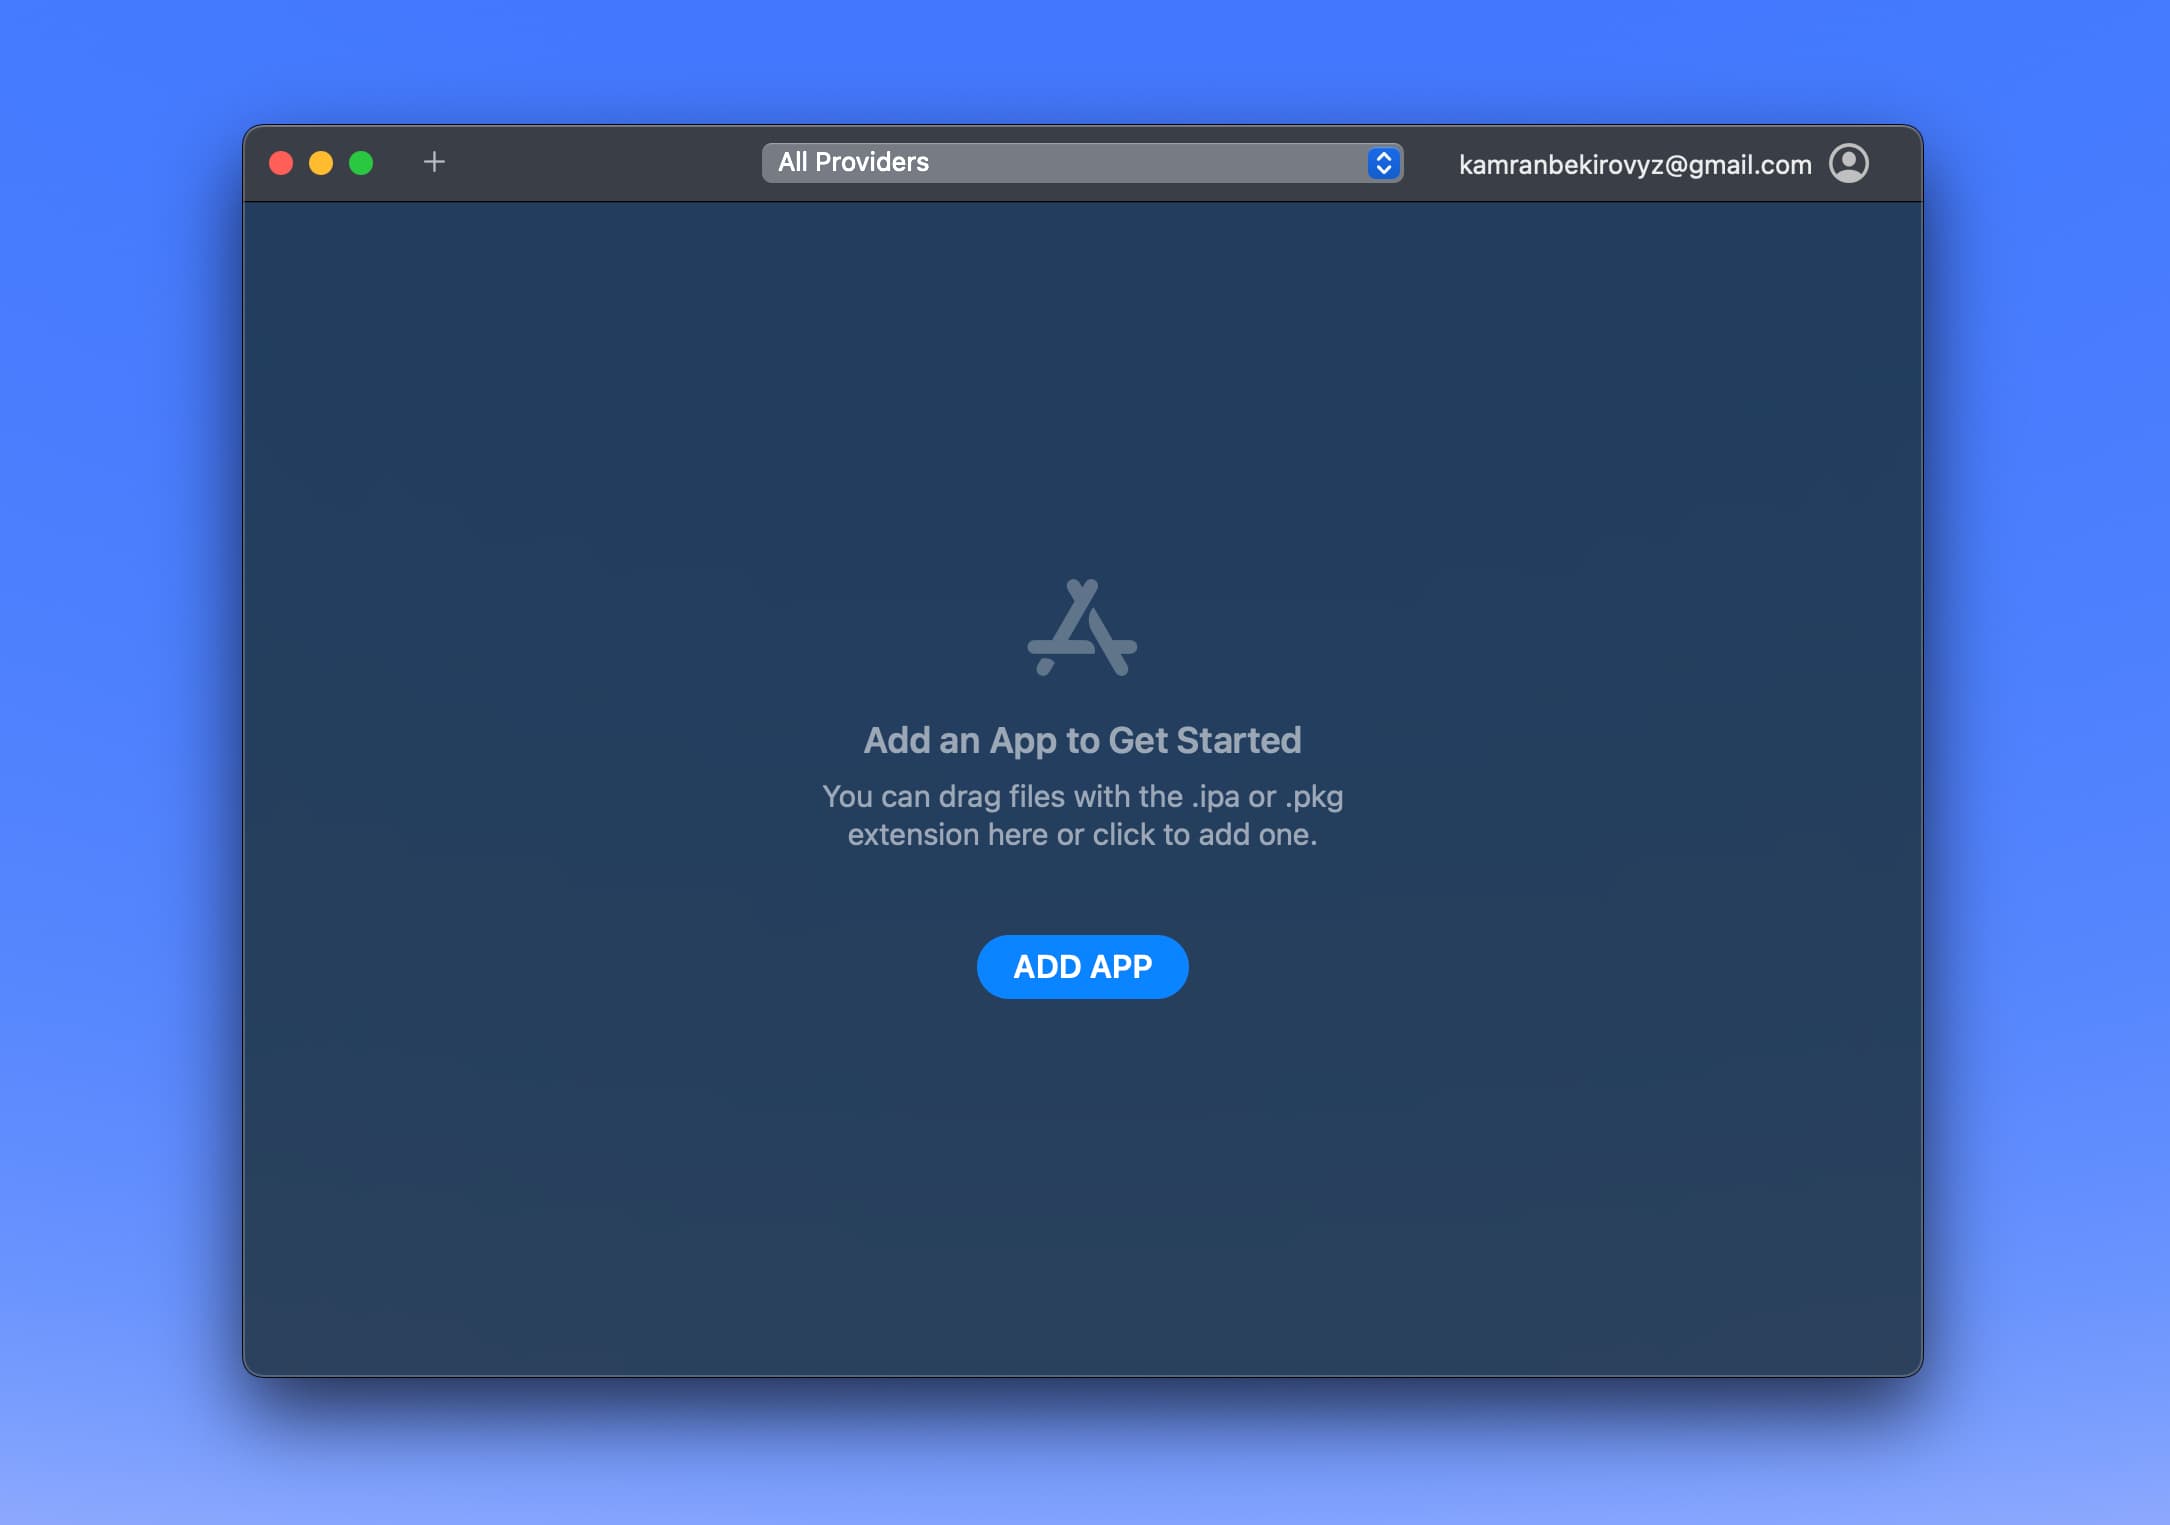
Now, go to your Flutter project’s terminal and run the following command and wait for it to finish:
flutter build ipaHere is the output of the command:
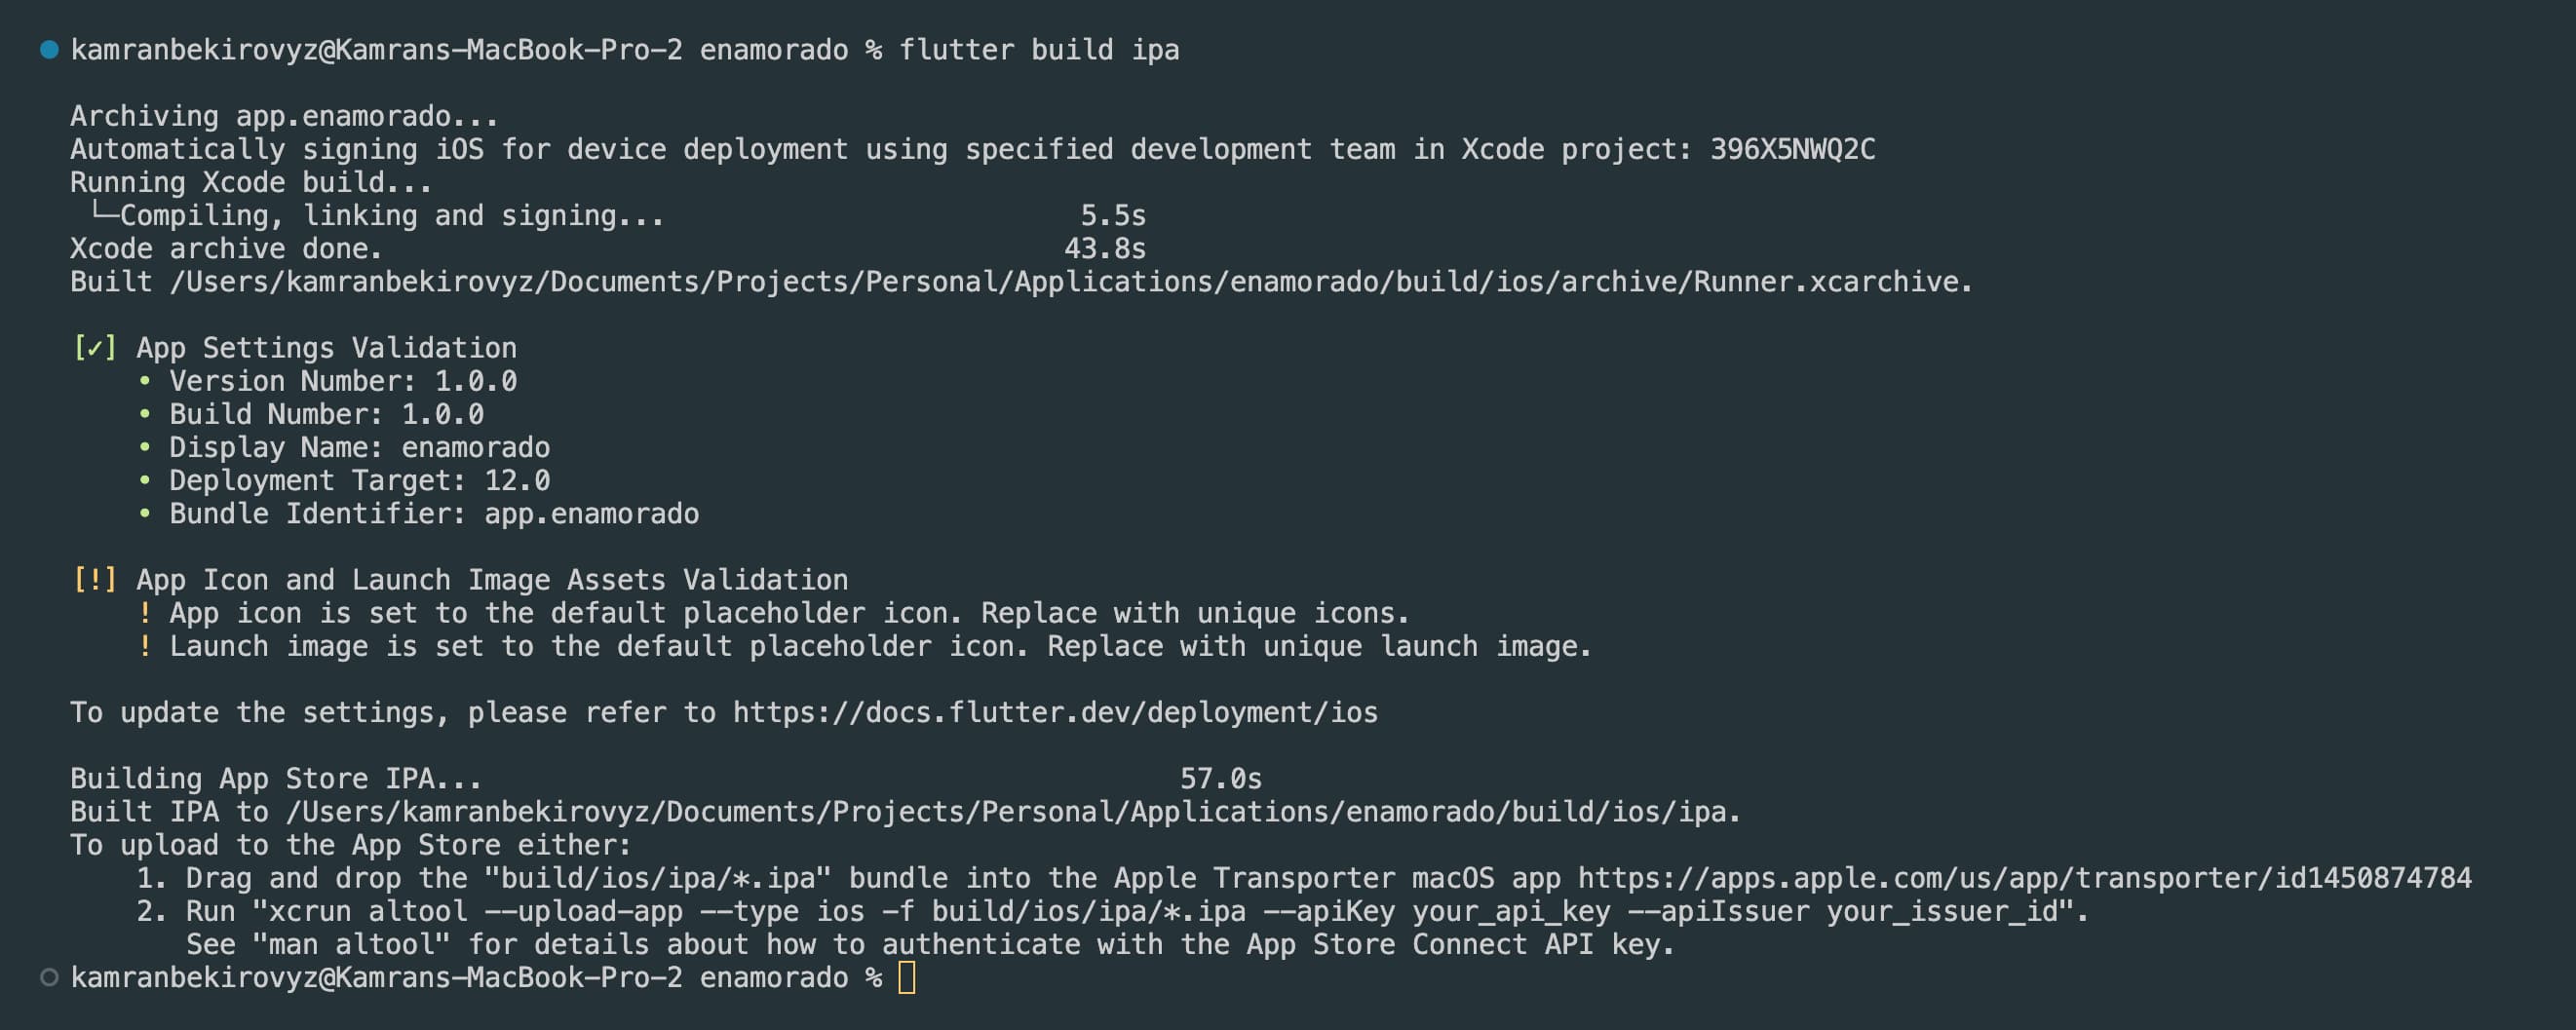
Note: Notice, at the bottom you’ll see two options how to upload that generated IPA file to TestFlight. You can either drag and drop the file to the Transporter app or use the command line. If you want to learn about command line method, you can read the official documentation.
The output IPA file will be located in build/ios/ipa/{project_name}.ipa. Now, either drag and drop the file to the Transporter app or click the “ADD APP” button and select the file.
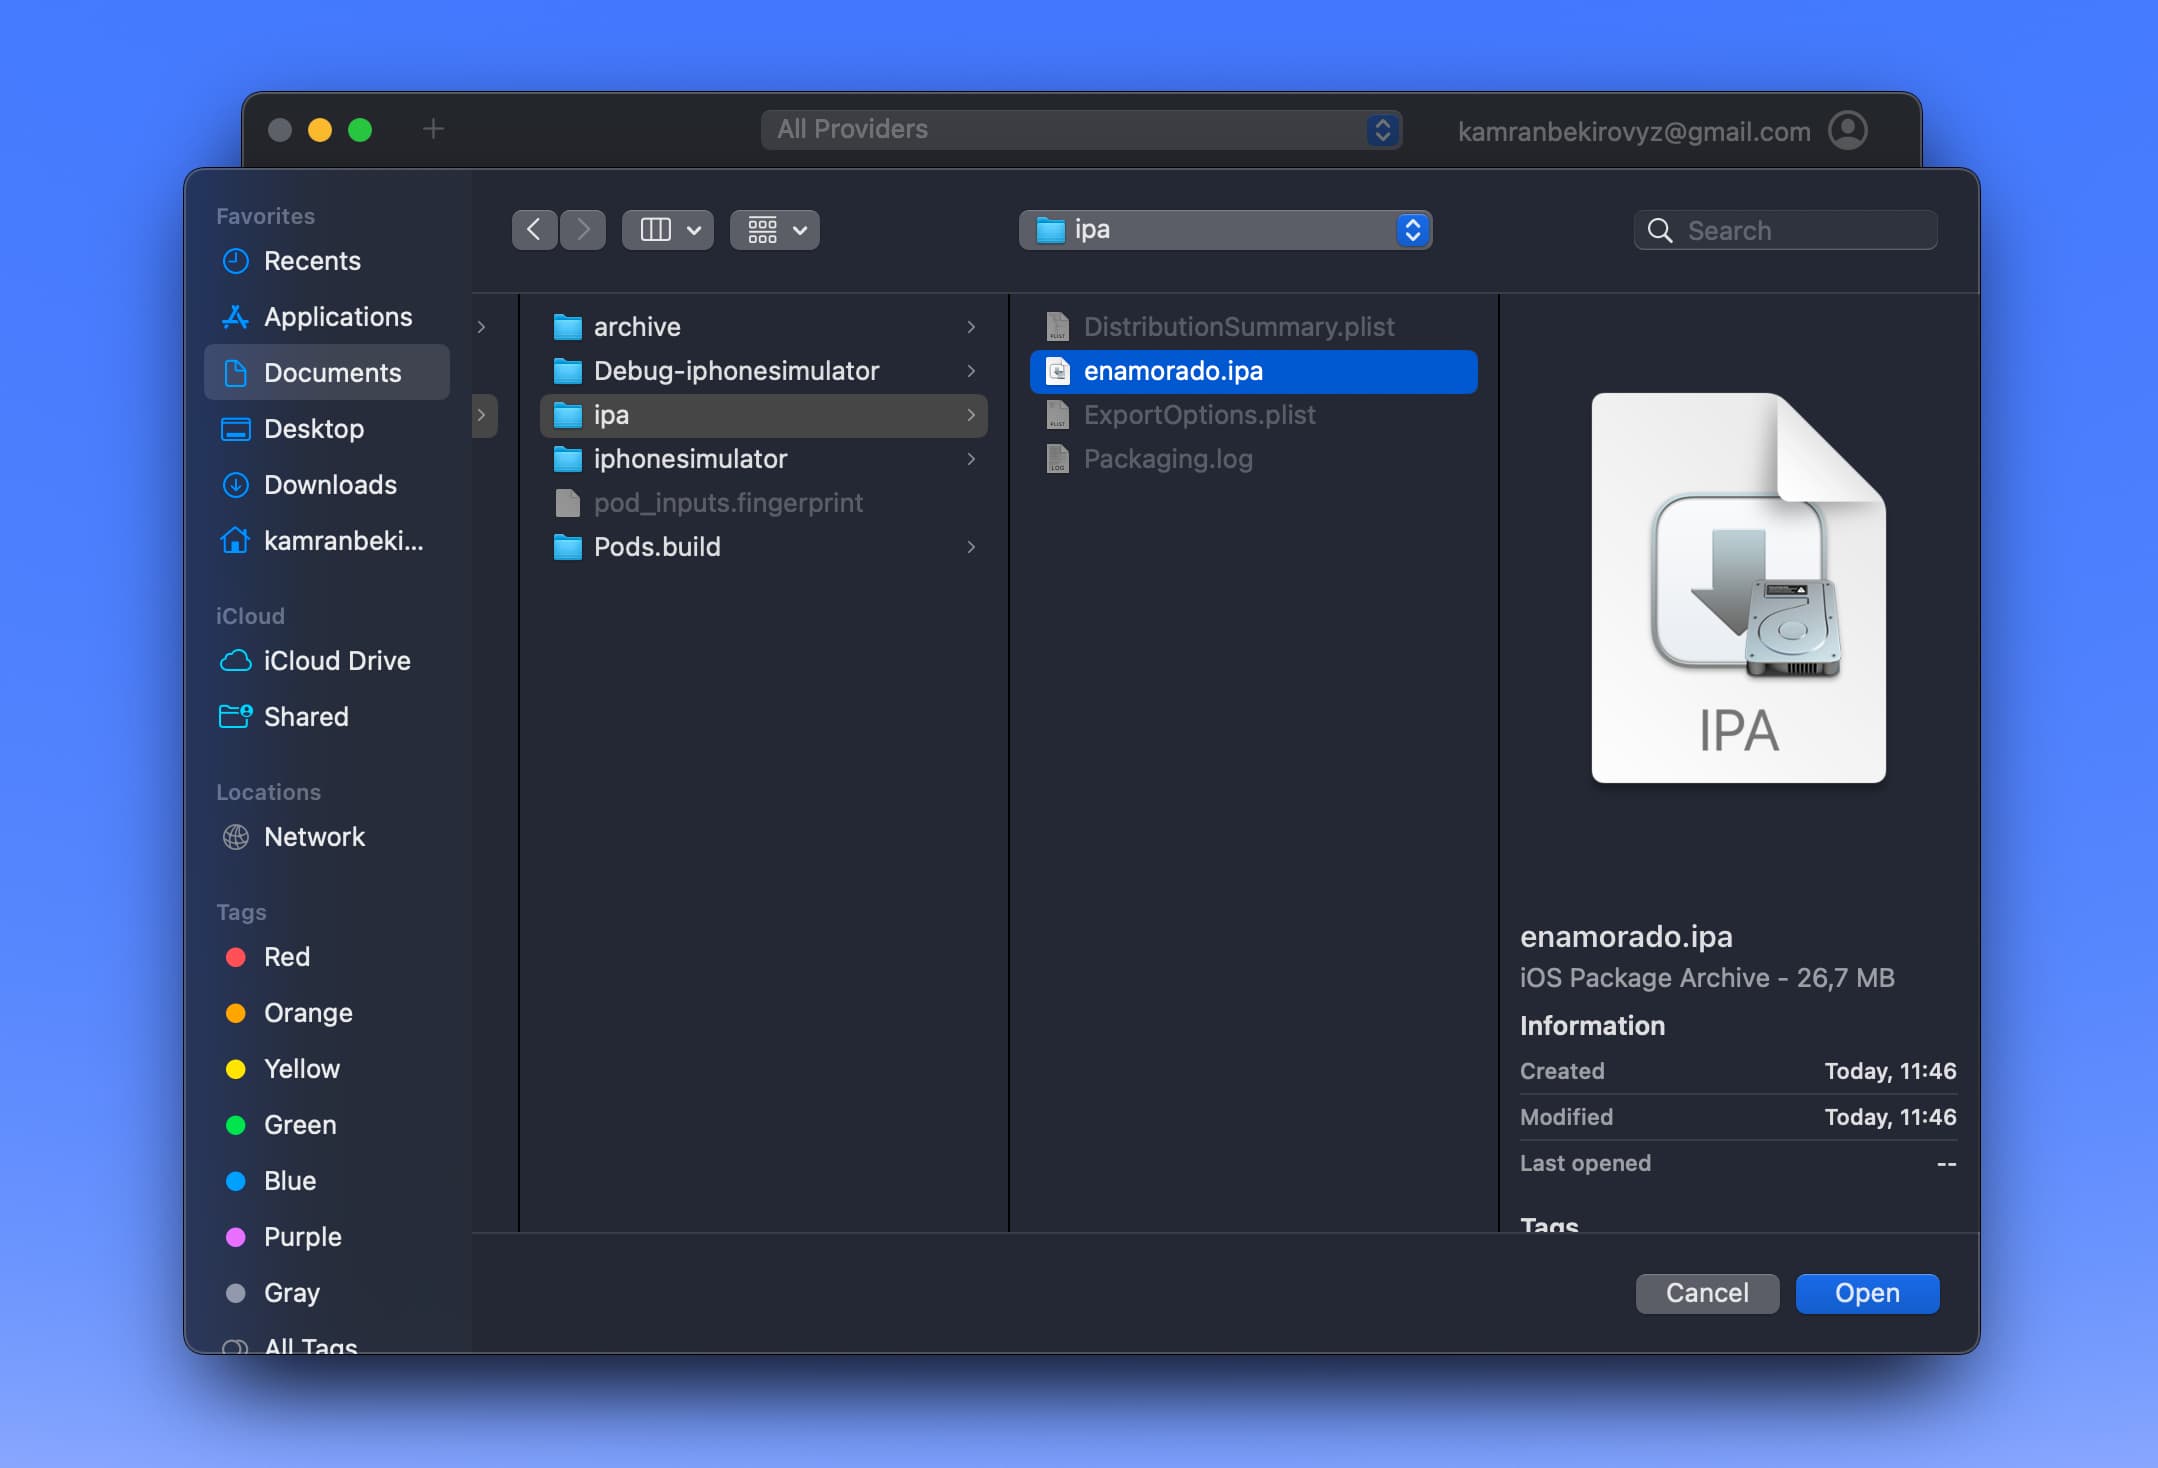
After selecting the file, you will see a screen like this:
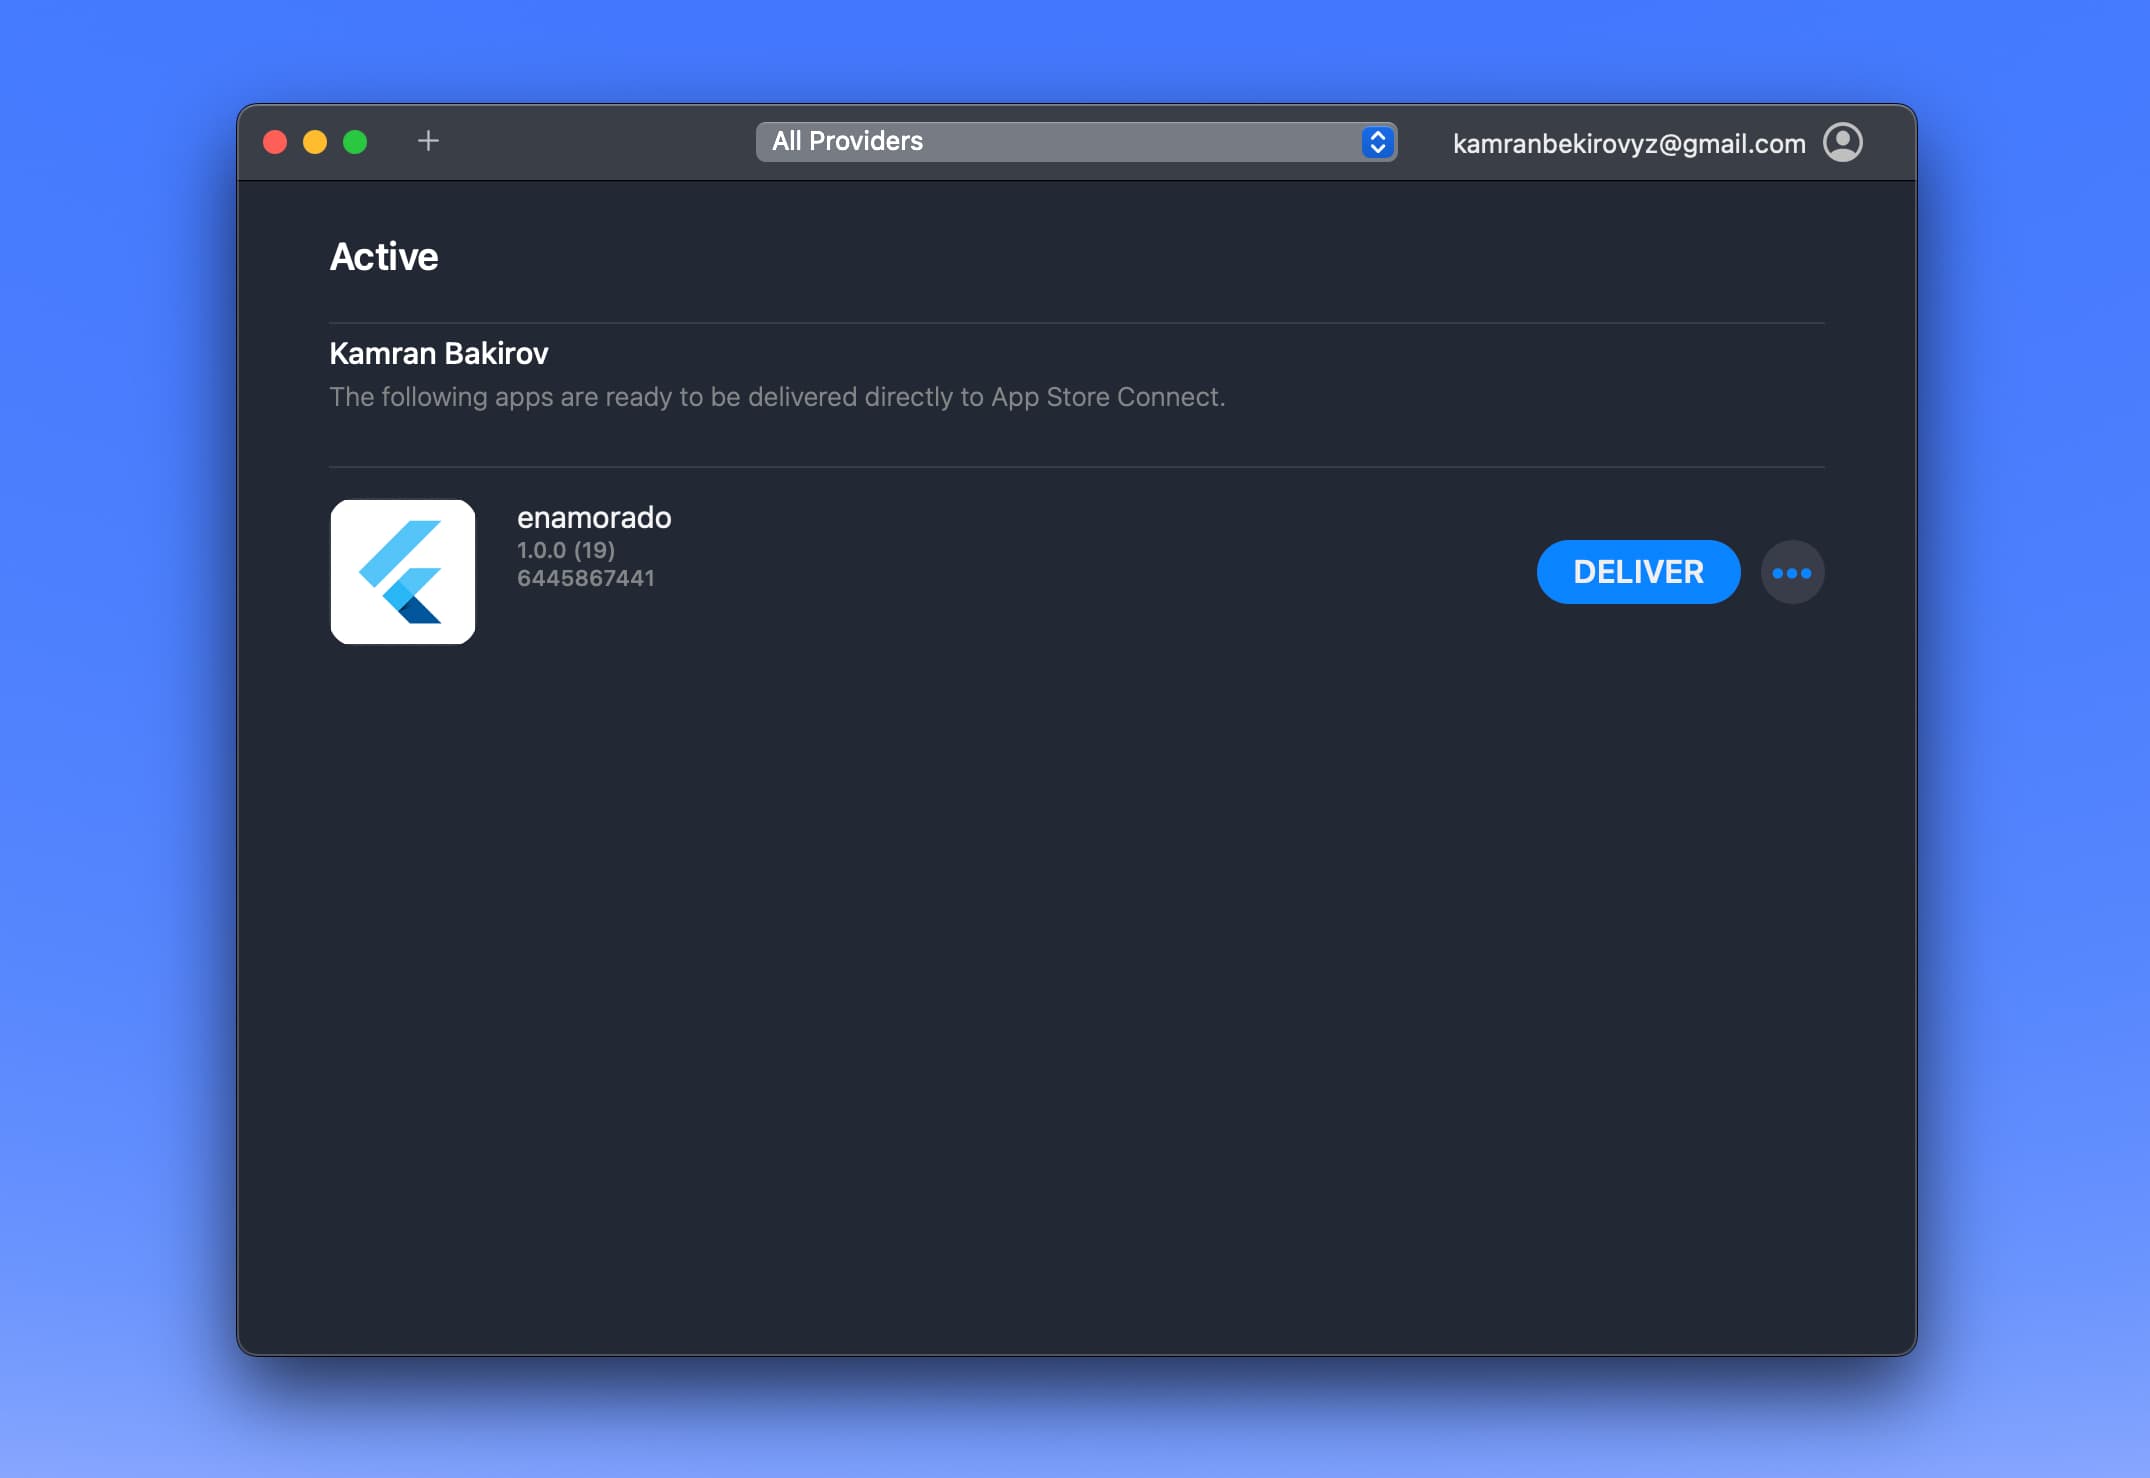
Click the “Deliver” button and wait for the upload to finish. After the upload is complete, you will see a screen like this:
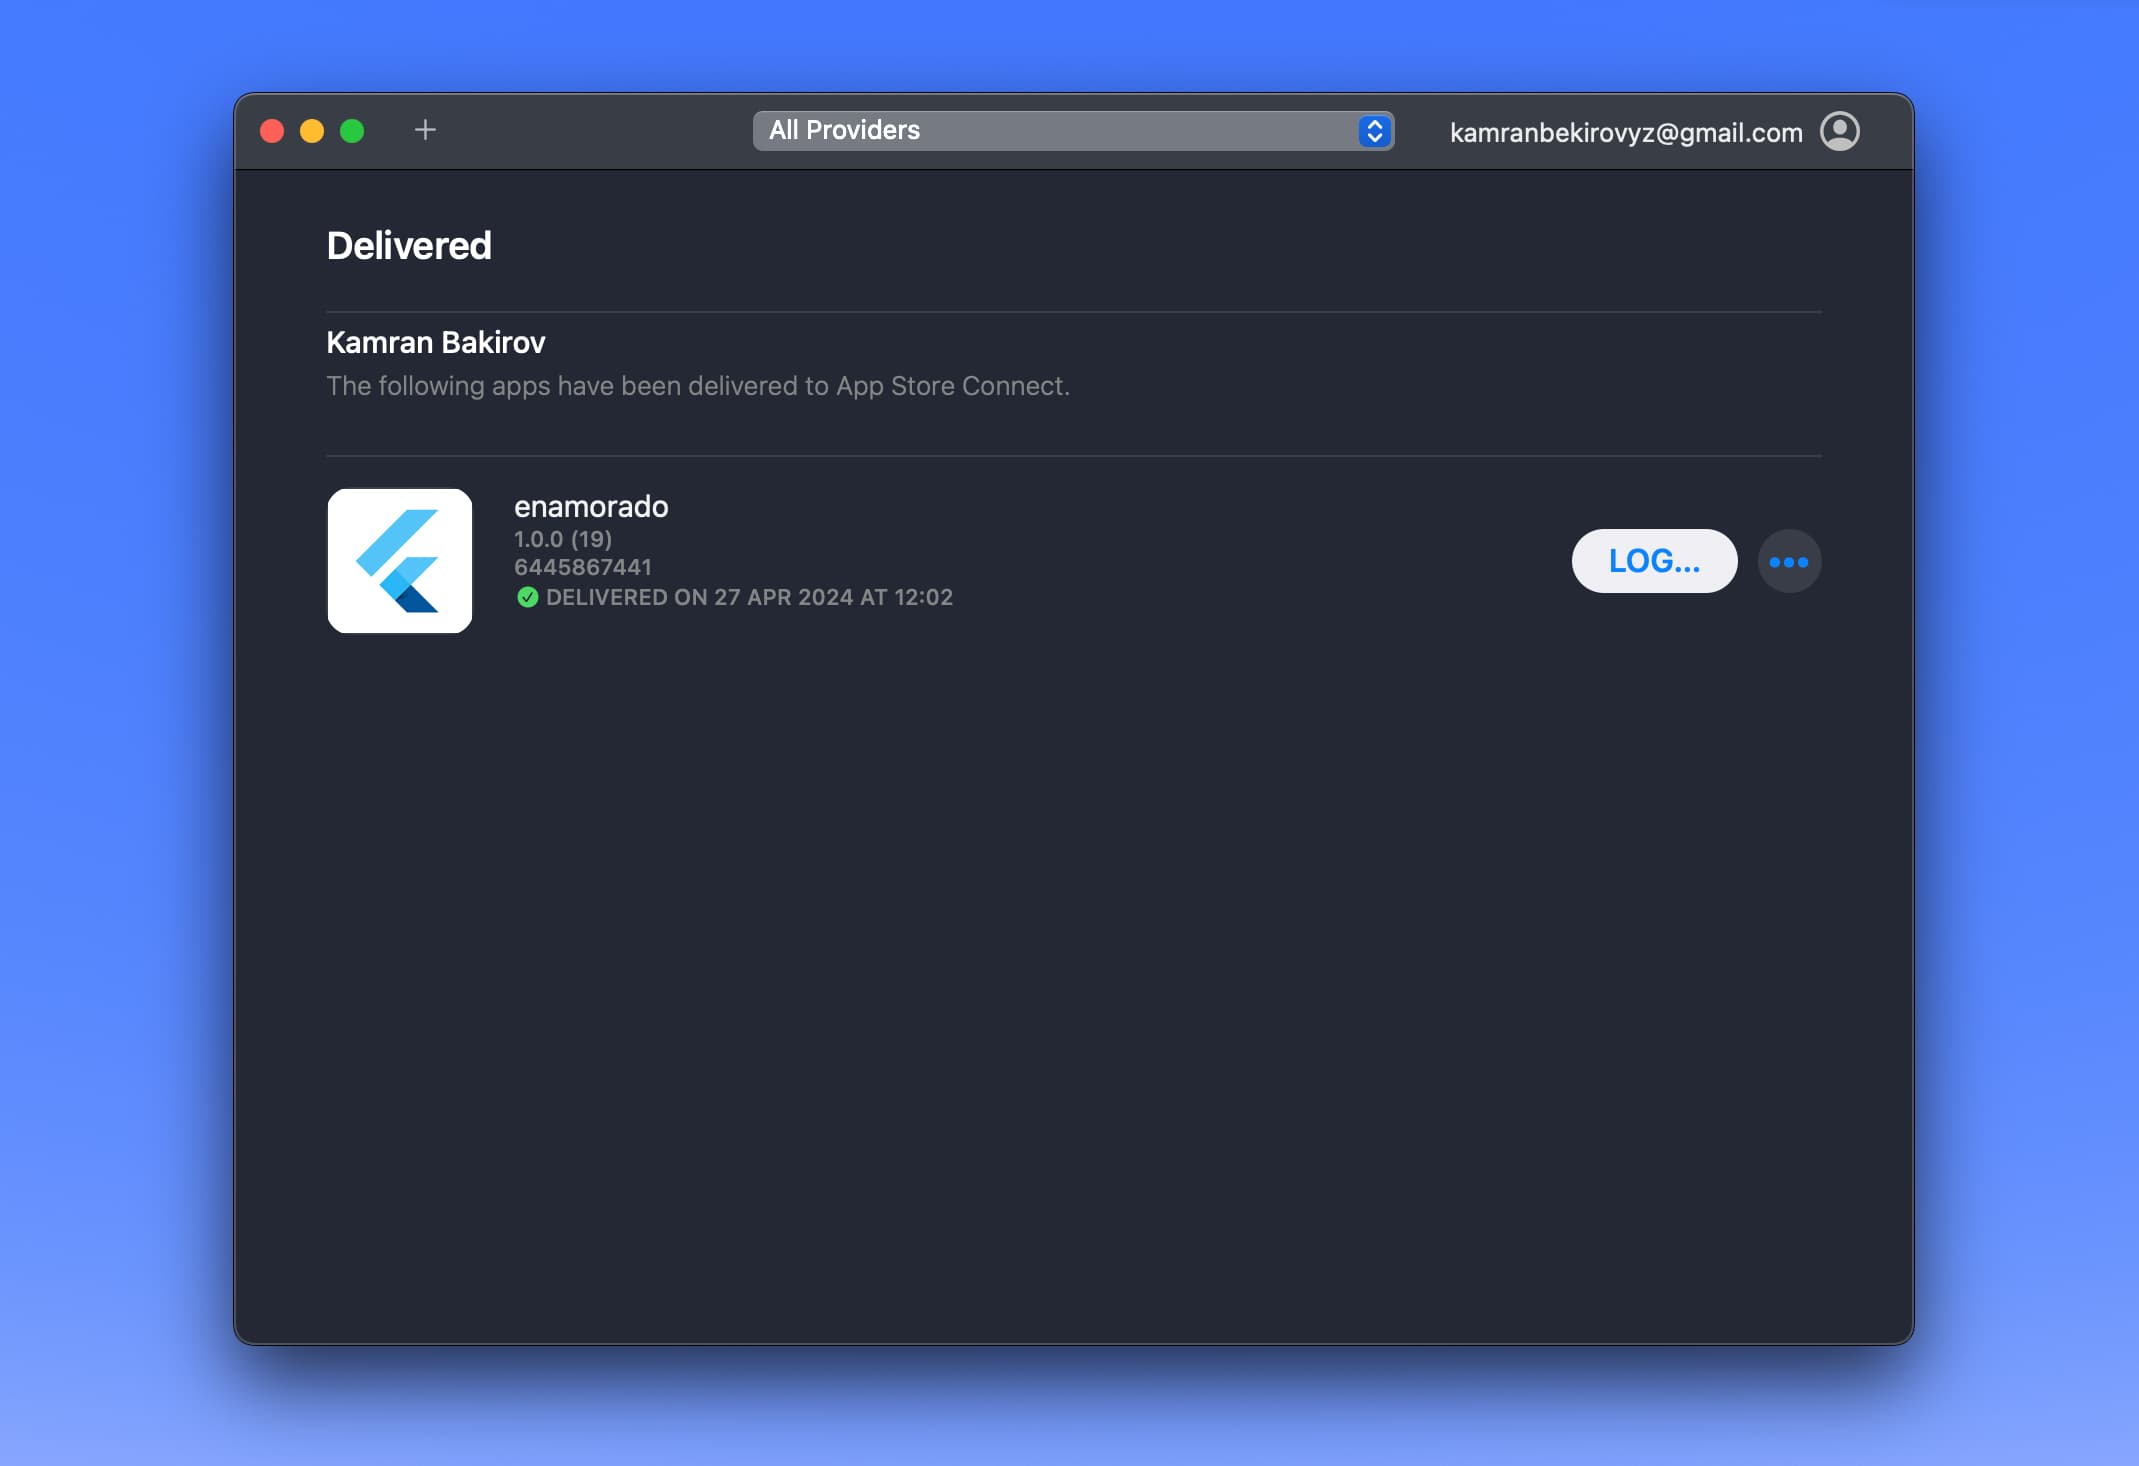
That’s it. You can now expect to see your app in TestFlight soon if not check your email and App Store Connect for any errors.
